

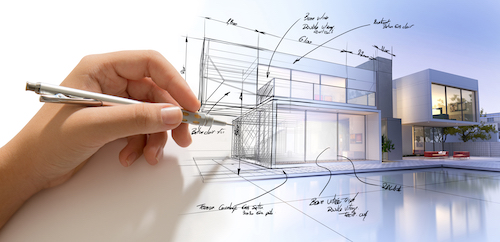
Understanding the 3D Rendering Process
The 3D Rendering process refers to the production of a two-dimensional computer image based on three-dimensional data. 3D Rendering is essentially virtual photography as it requires knowledge of staging and lighting scenes appropriately to capture a realistic image. The process followed by professionals is fairly consistent throughout the industry and typically involves gathering as much information as possible before embarking on the actual creation.
Our Guide to the 3D Rendering Process
Step 1: Understanding the Client’s Vision
The initial creative consult is essential in setting up the final delivery. Once the client provides the plans, sketches and reference images, it becomes possible for the 3D artist to conceptualise the project vision. As well as understanding the details required for the image, it’s equally as important to understand the business requesting the 3D image in detail. This can be done by delving into questions regarding the target market, how the 3D image will be used, and relevant company branding. This allows the process to be streamlined and understood completely.
Step 2: Project Analysis and Design
This relates to analysing the project as a whole and deciding if there should be specific feature points highlighted throughout the 3D rendering process. The chosen feature points should be what is most likely to sell the concept to the specific target market. Once the focal points have been determined, it’s important to choose the most effective camera angles (if not already determined by the client) that will appeal to prospects.
Once the project has been analysed, it’s important to detail the individual design elements (textures and colours) that will be used to sell the concept.
Step 3: 3D Modelling
Using polygonal models (geometric shapes only), the vision can be sketched to envision a guide for the placement of individual elements. This is done by the 3D Artist using 3D modelling software.
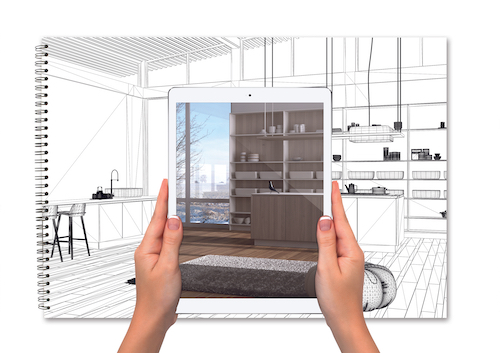
Step 4: Materials and Texture
The library of materials used will impact the overall photorealism of the 3D render once complete. The 3D artist will create and set-up the materials whilst considering key factors like the finish of each material (matte/glossy), the roughness of the material and further design options. These can then be applied to the previously created ‘sketch’ of the 3D render to build dimension, texture and colour.

Step 5: Lighting
The goal when creating shadows, angles and reflections of light is to replicate real-world lighting. This takes creativity, research and consideration of the desired ambience to determine exactly how the light should be displayed in the photorealistic rendered image.
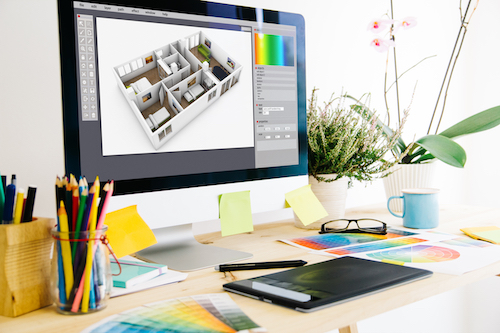
Step 6: 3D Rendering
The time required for rendering is dependent on the complexity as well as the desired quality of the scene. The 3D artist will implement suitable 3D rendering techniques to sculpt the idea from a concept into a reality.
Step 7: Refining
Before the final delivery of the 3D render, the client’s feedback must be gathered so that appropriate tweaks can be actioned and refined. Once this has been incorporated in the 3D rendering process, high-end finishes and details will be added to create a pristine display.
Step 8: Final Delivery
Once all the individual elements are agreed on and the final product is approved, the 2D image/s will be provided to the client. The resolution and format of the hand over will be determined based on the required usage of the image (print/web).
Get Started with 3D
See real results when you get started on your next 3D project with Rendered Reality. View our computer-generated image gallery to see what we’re capable of, or get in touch to find out more about the 3D rendering process.